
Week two of the 100 Days of collage challenge! (You can find the skill share course HERE)
This week focuses on found objects!
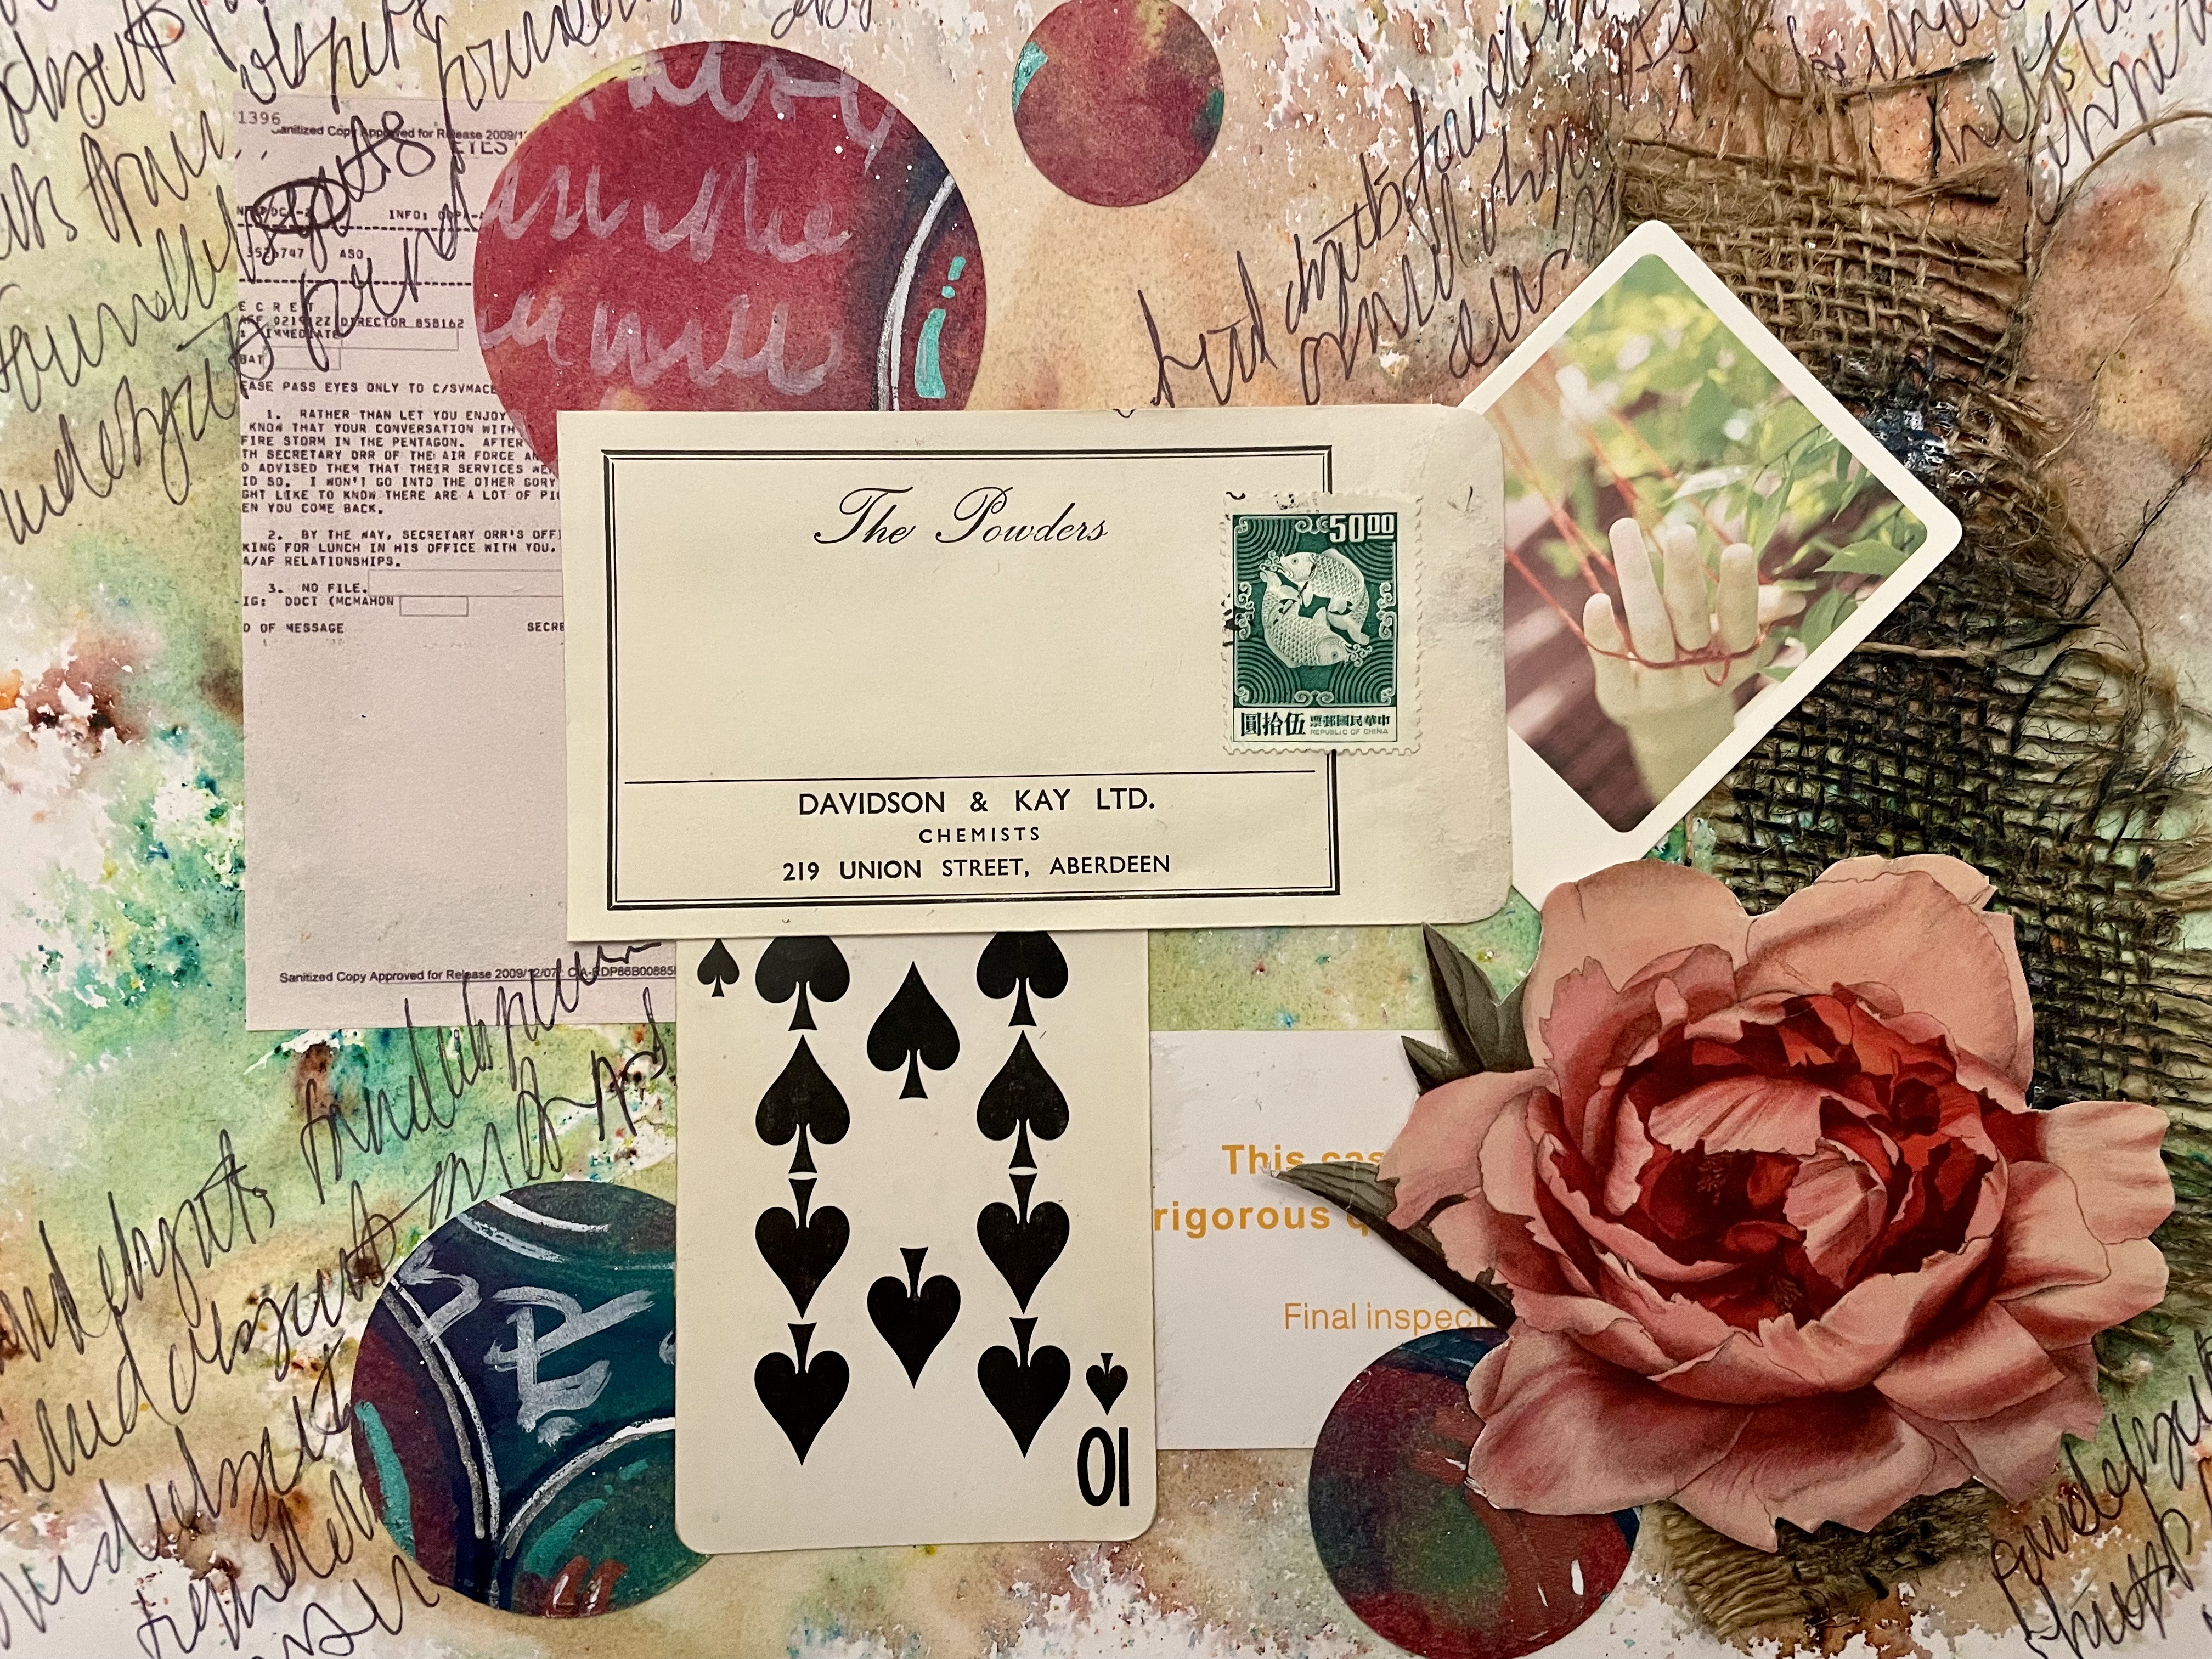
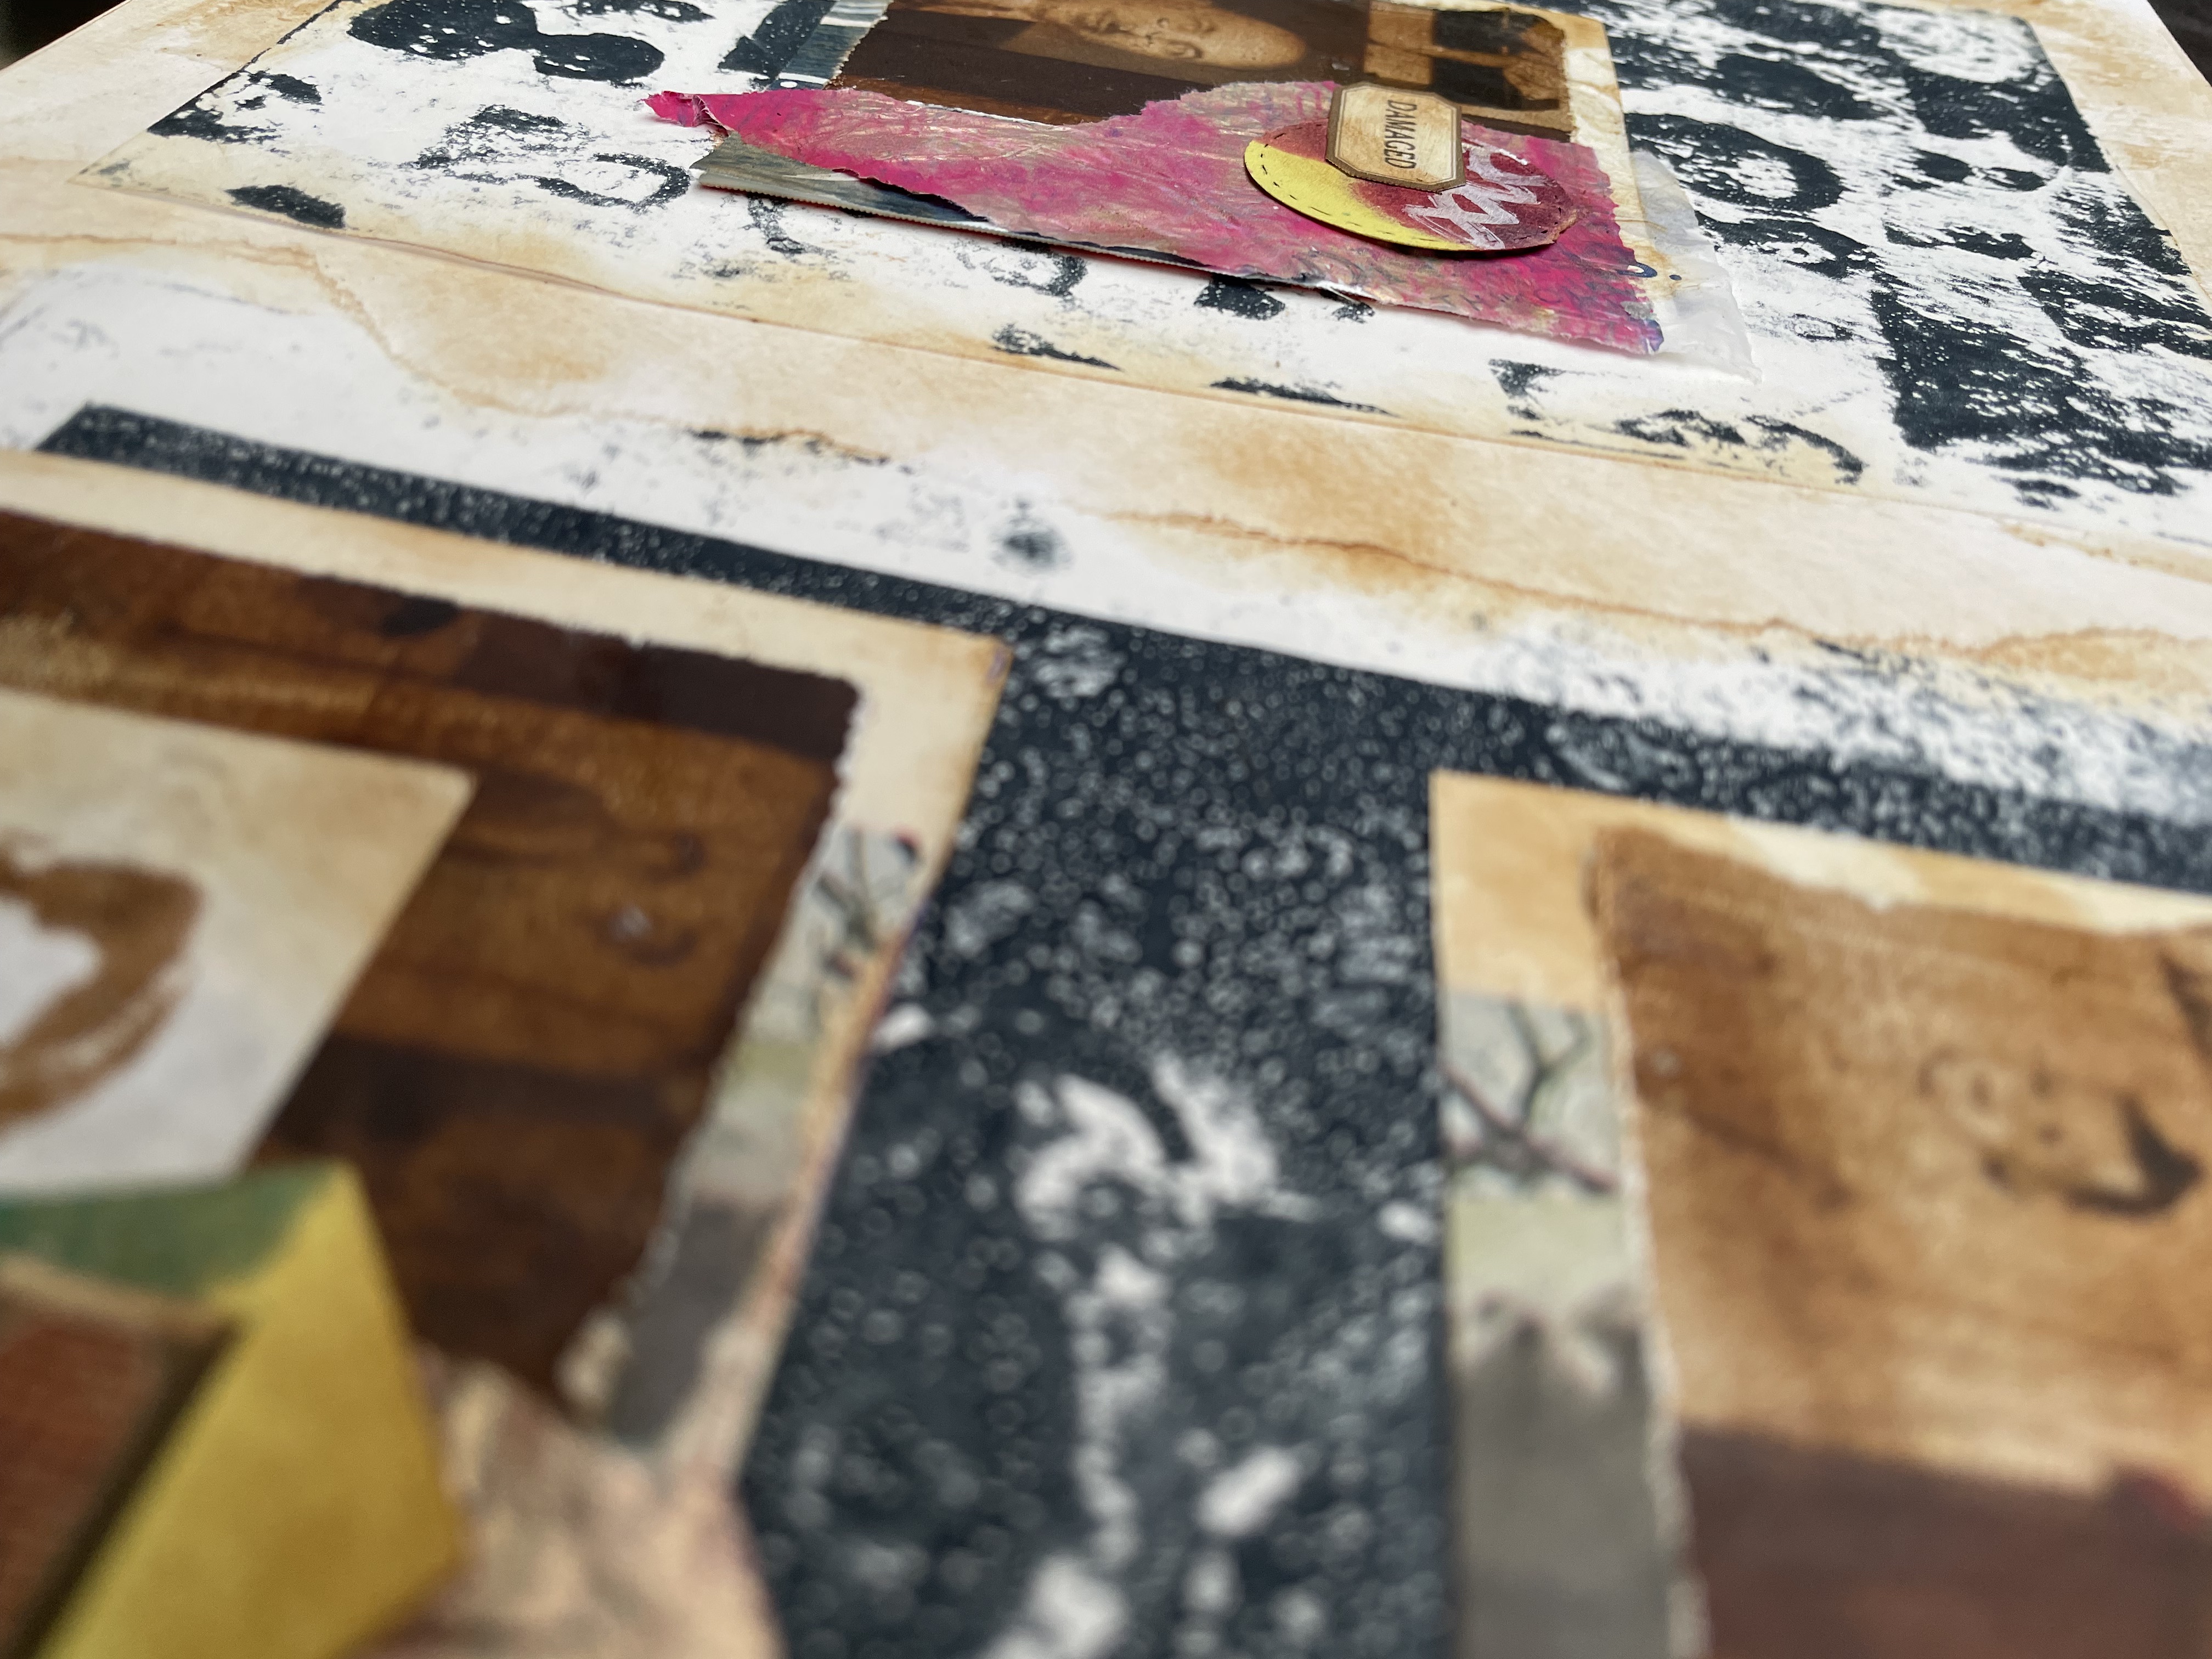
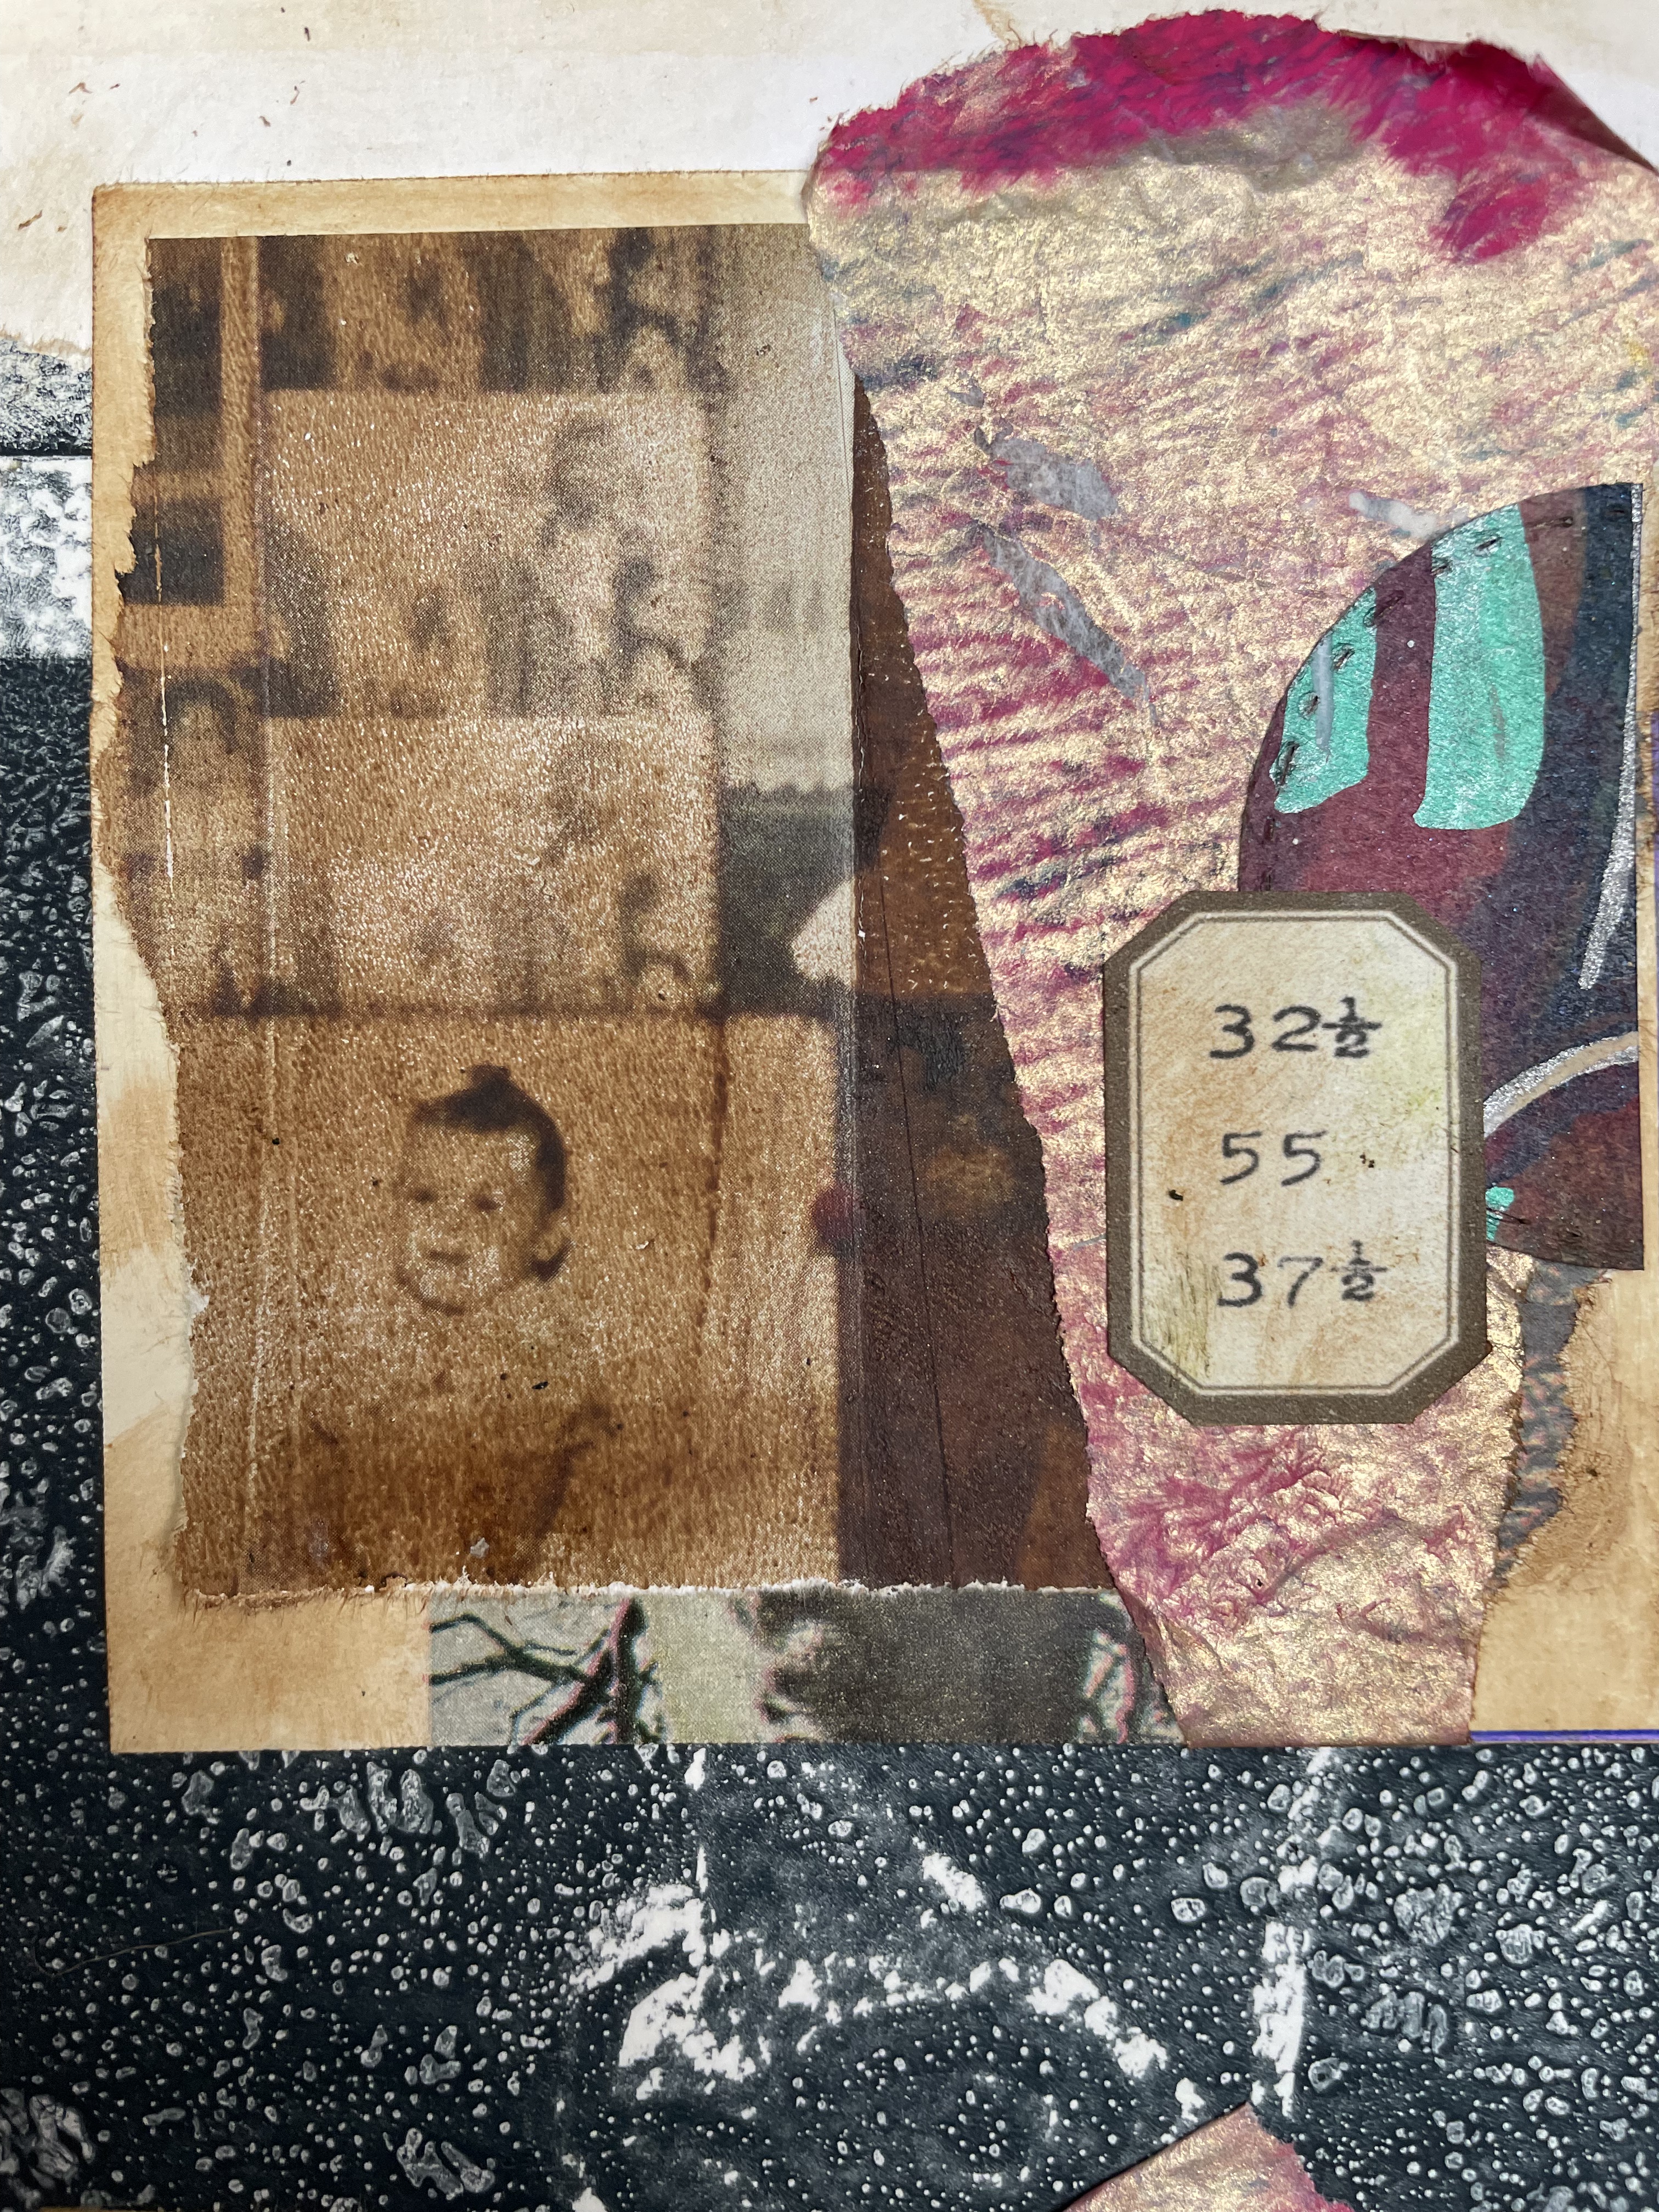
My collage on day 8! The challenge was to find and include as many found items as possible in my collage. I included vintage items like a vintage stamp, a vintage chemist envelope, and an old playing card. I included an old piece of hessian sack for texture. I found a faux Polaroid picture in my craft stash, along with the giant peony.
I also included some found papers in the junk mail.

For day 9 we were given the prompt “key to success.” Through this prompt, we were encouraged to think of what success looks like to us personally.
I decided that success for me was “knowing thyself”. Luckily I had the words printed out in my craft stash already!
I couldn’t find an actual key to put on my collage. Instead, I used some stickers I found in a sticker book like THIS.
I found an eye peering through a key hole, some crossed keys and a little vintage heart lock.
I backed the stickers onto card stock and used them as collage elements. I used the remnants of gel prints from past sessions to build up layers of circles. I also cut out circles using a die cutting machine. This collage has raised elements that come off the page.

For Day 10 we were encouraged to use words in our collage. I had a go at creating some blackout poetry. To do this you just need a random book page. I used a vintage book page from a sewing book.
Begin by circling words you like from the text to form a new poem or statement. Then black out the remaining text. I cut up my poem to make it easier to read. It says;
“The starting point, some distance away, wrong sides facing. The place between may be on the underside, tying together loose parts for comfort. Begin working, twist, until the threads hold. Weave loose threads over, and under. “
Again I used an eye image from the sticker book and my beloved circles! I also cut out an image of a knot from the vintage sewing book.
In the background I used a gel plate print I made last week with script printed into it.

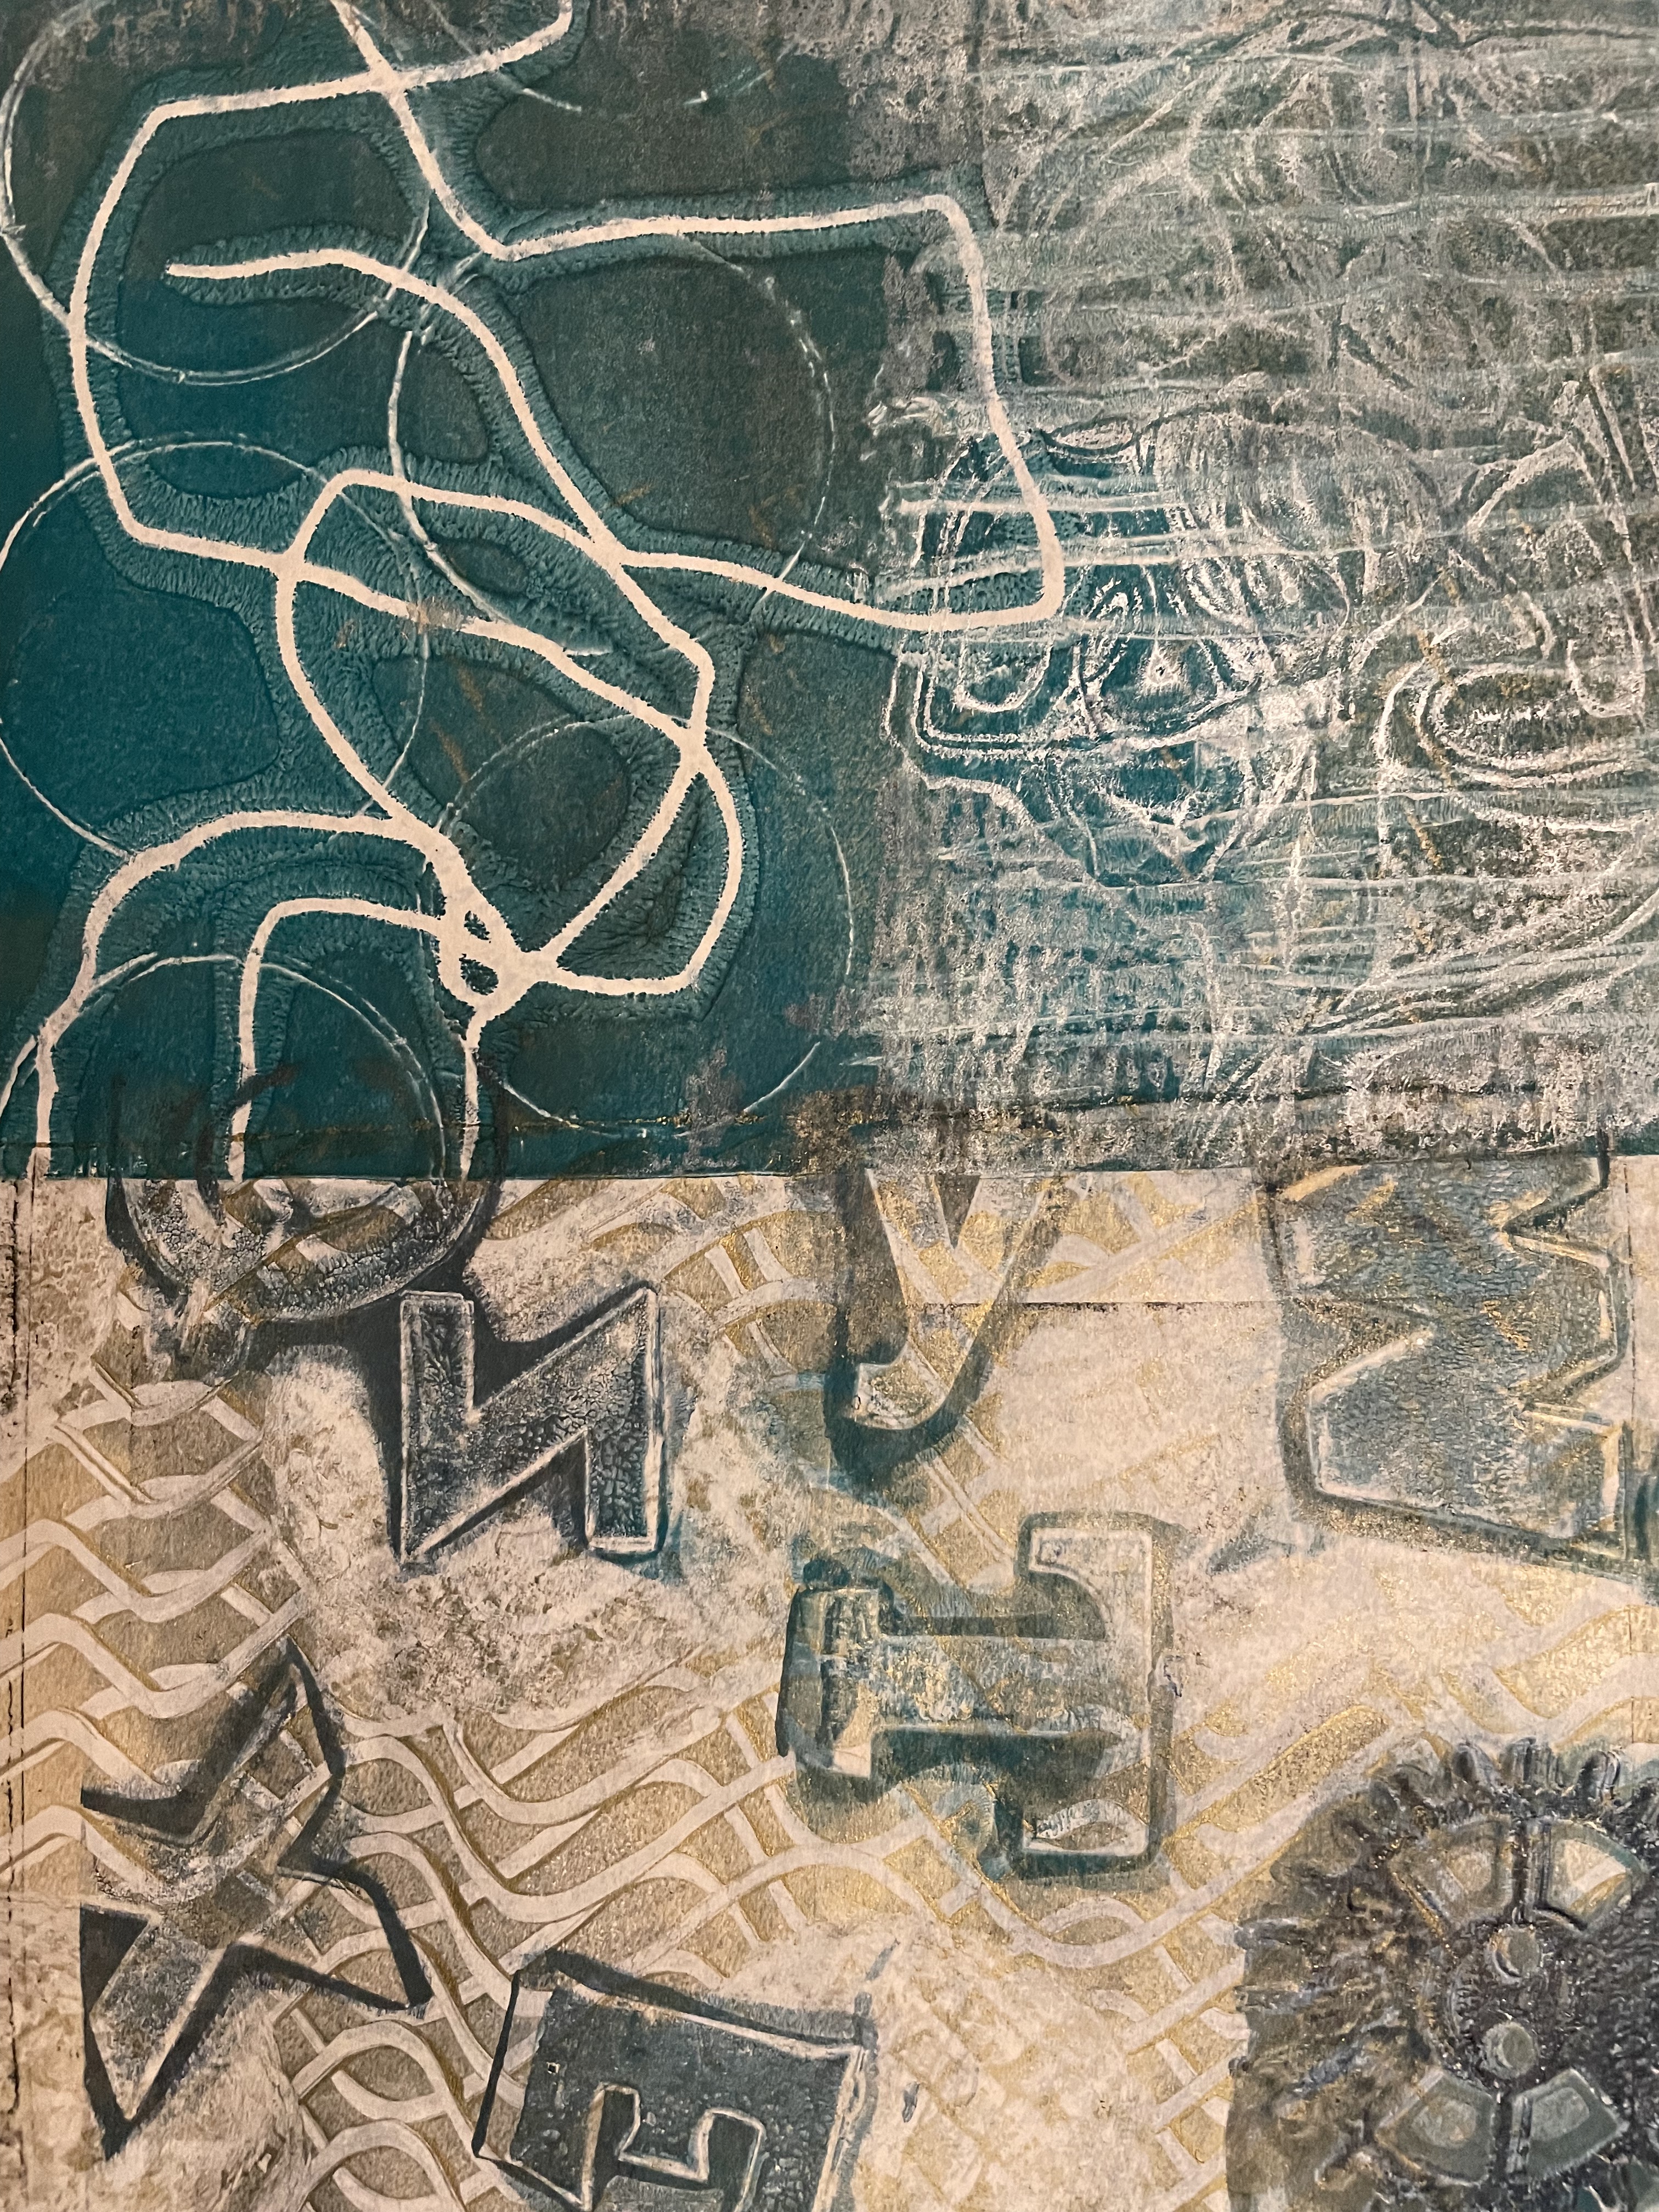
In this session, we created more gel plate prints!
I had a go at creating image transfers on my gel plate to create my portraits. Do you recognise the portraits in the transfers I created? They are actually Picasso paintings!
I used a book of Picasso paintings to create my image transfers. The images worked really well. I used vintage music book paper as a background, then layered my image transfers on top. These gel plate prints were printed on thin paper. You can see the music book text through the white areas of skin which I loved.
I used modeling paste through an alphabet stencil to create the 3D effect lettering. I then painted over the collage with magenta and blue. When this was dry I lightly sponged over the surface in gold paint. Blue magenta and gold are one of my favourite colour palettes to use.


In Day 12’s collage we created gel plate printed collage papers using found items around the home. To create my prints I used kitchen roll paper and tubes, thread spools, thread, cardboard letters, corrugated card and more!
I love using thread and string in my gel plate prints as it creates beautiful natural shapes. I cut out the original picture I used for the image transfer in day 11’s collage as the focal point. It was Picasso’s “Woman with a chignon” from 1901.


In Day 13 we created our own collage papers using the theme of leaves.
To do this we used real leaves as inspiration, then created our own leaf drawings using sticks!
I created my leaf drawings using acrylic ink in black, white and red. For some papers, I used gel plate prints that I drew over the top. In others I used water-colour paper- each gave different effects. I layered the papers I’d made as a background, then cut out focal point leaves from the water-colour paper. I stuck them down with 3D foam dots to create a raised effect.
The text in the centre was from a vintage magazine. It says, “He who plants an avenue of trees, cannot, in the nature of things hope to enjoy them in their grandeur- he plants them for England.”


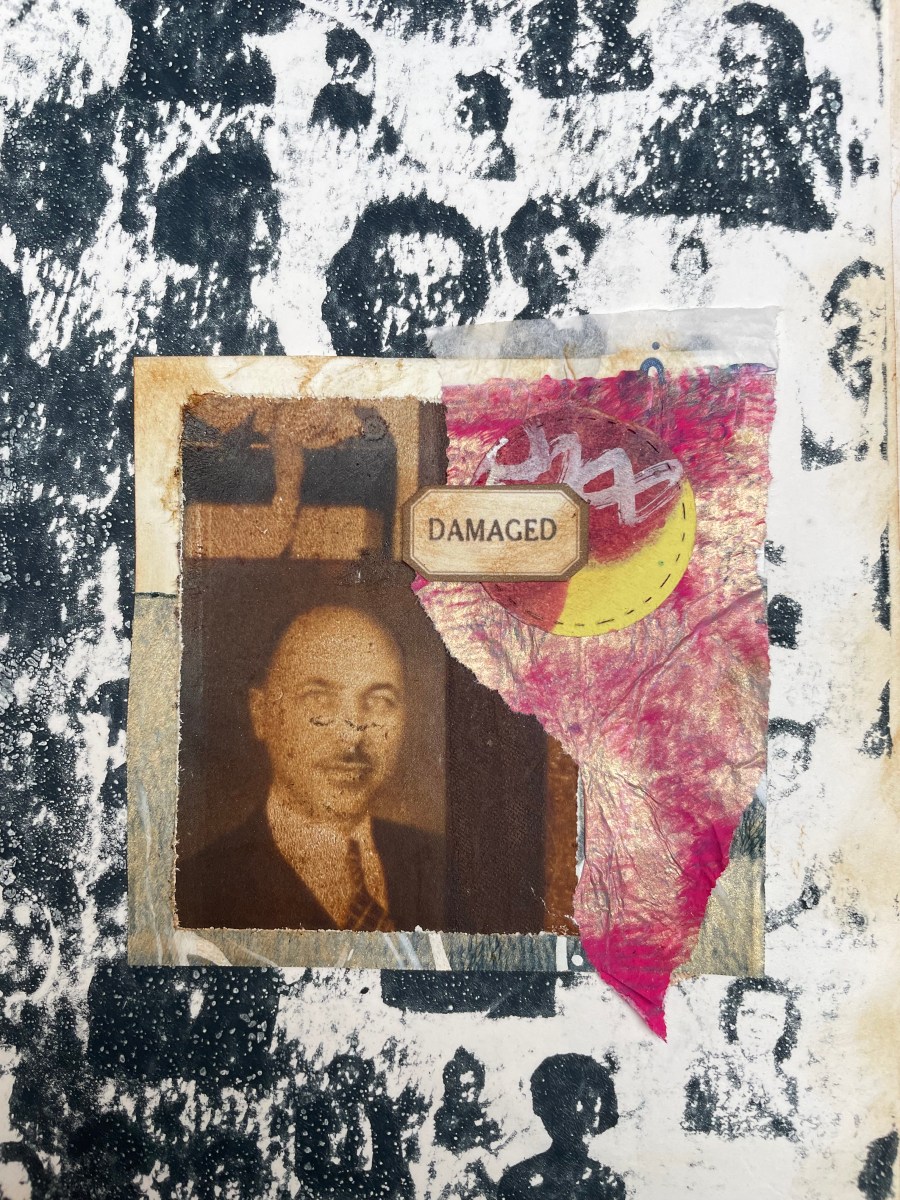
In this class, which I think was my favourite so far, we created miniature collages! I combined three of my mini collages onto one page to create this week’s collage. I also made lots of other mini collages that could be used as focal points in future sessions.


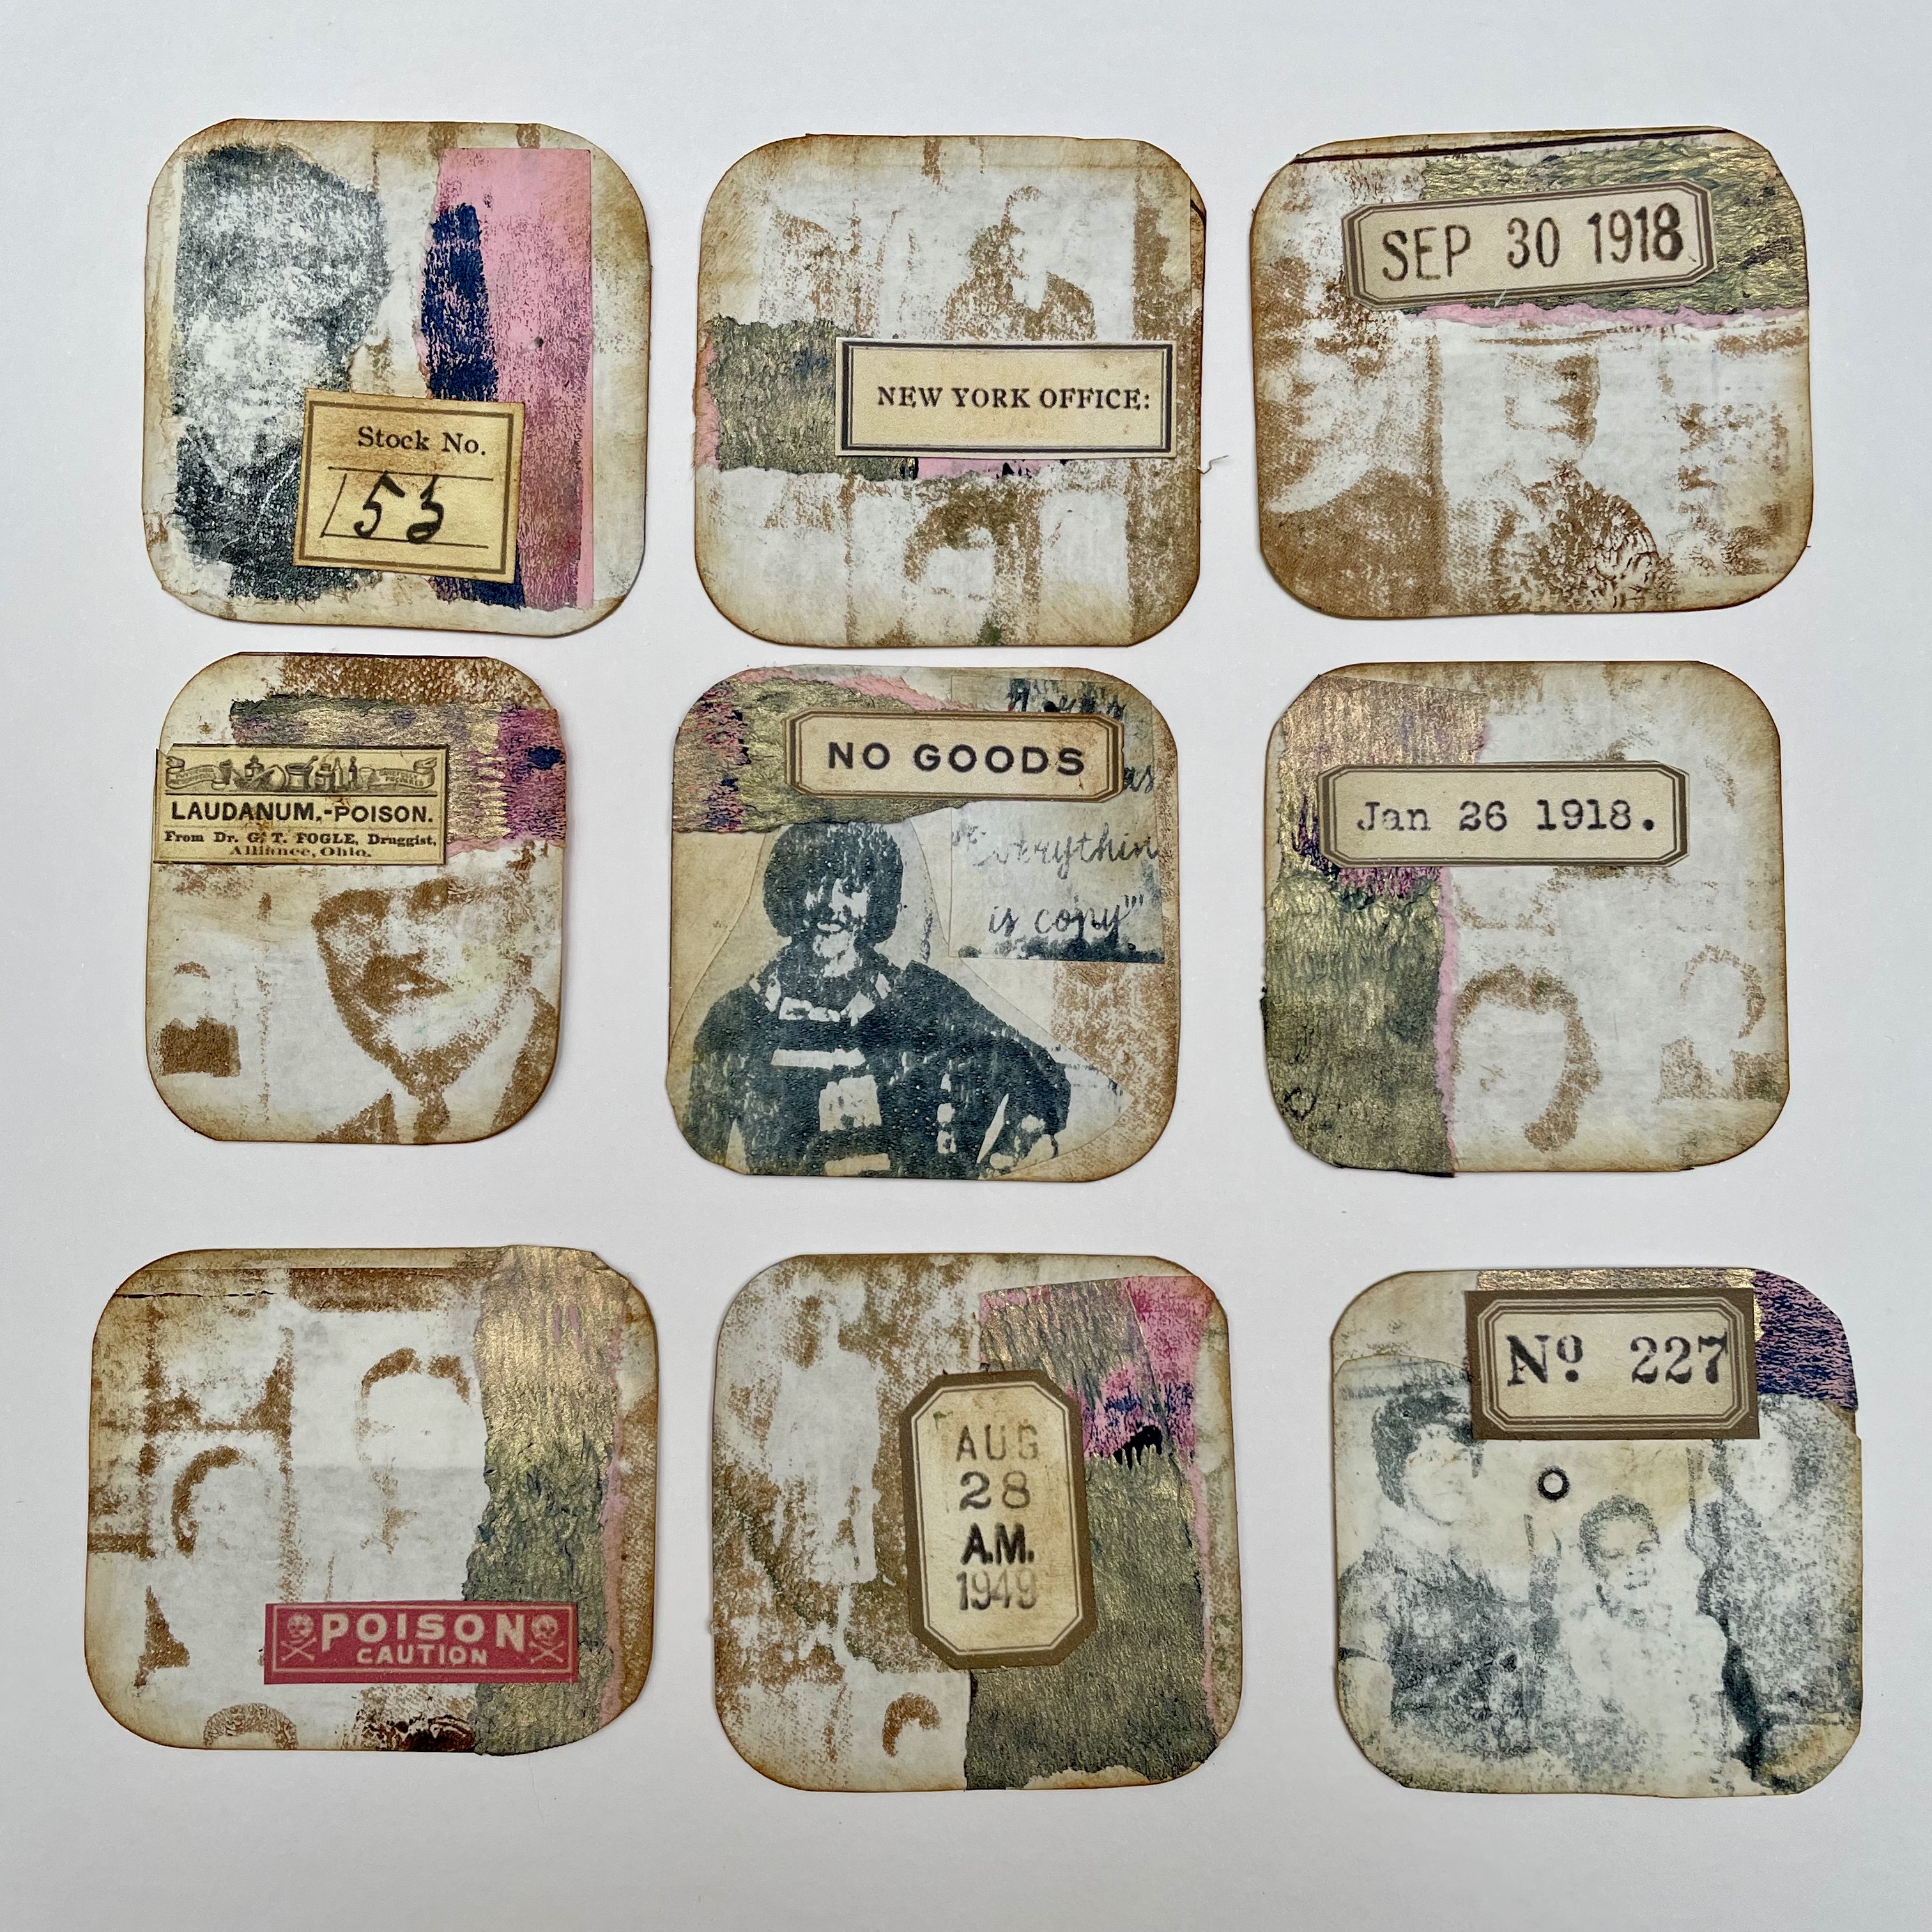
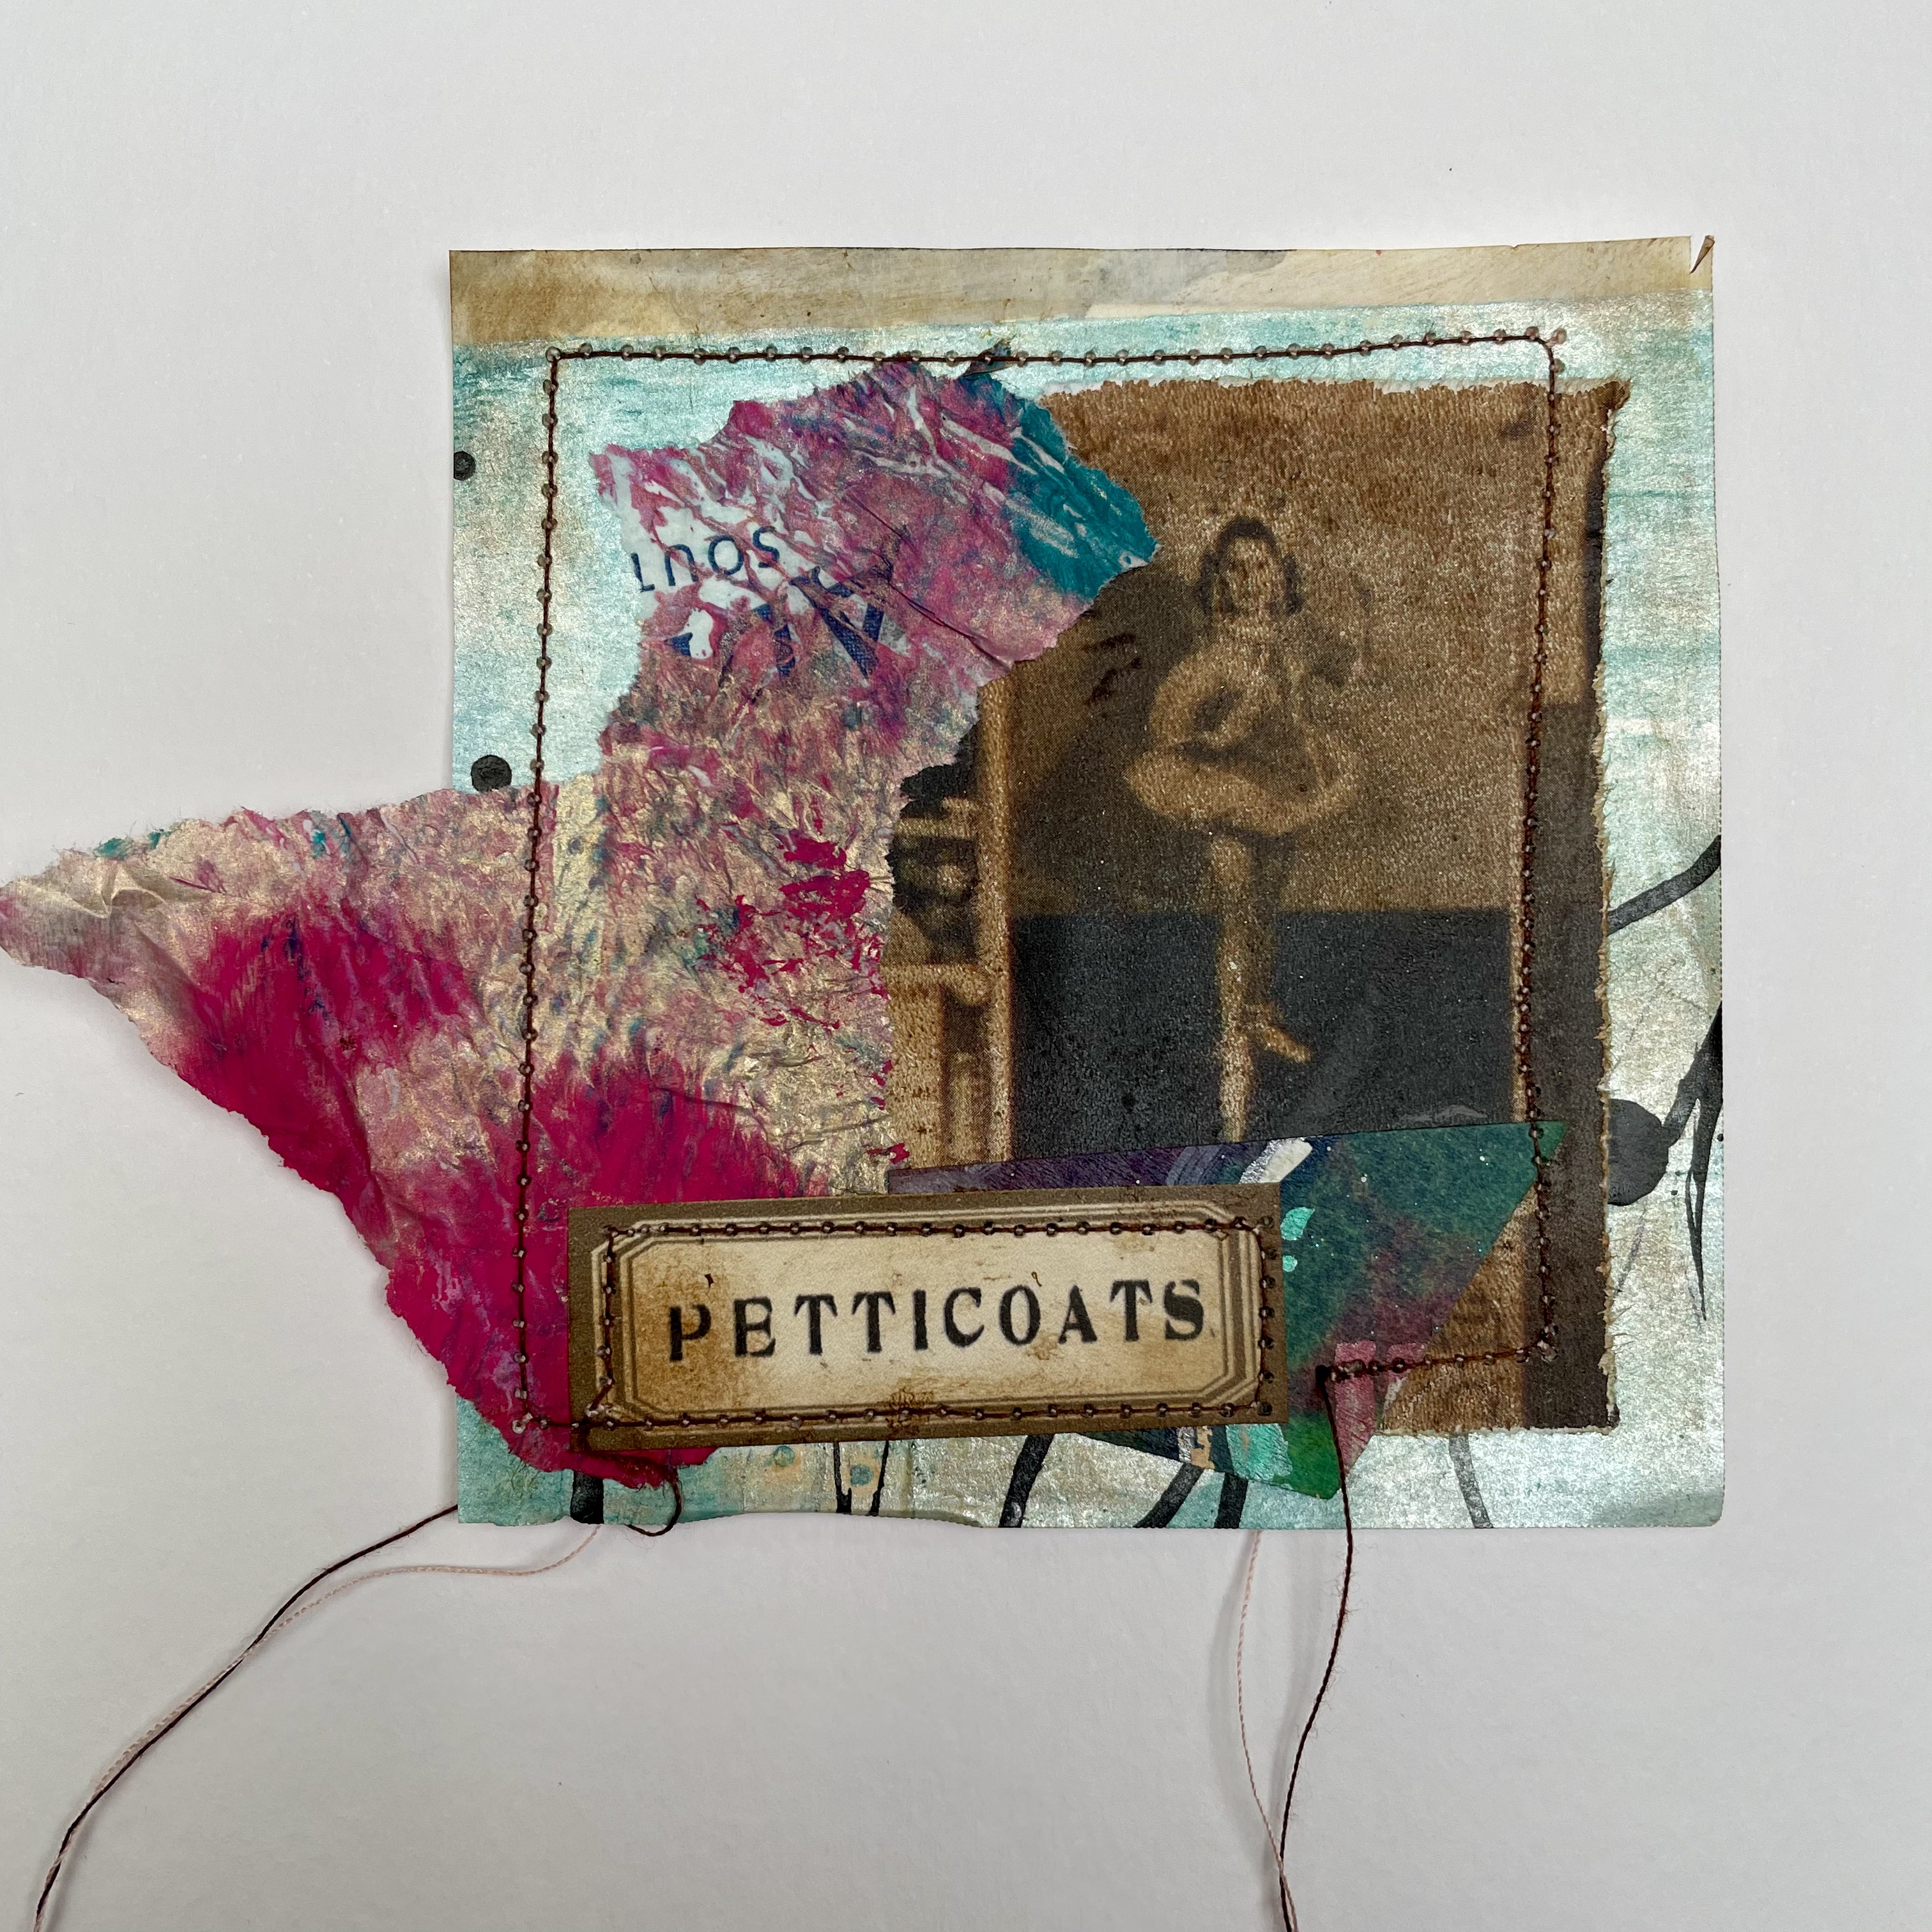

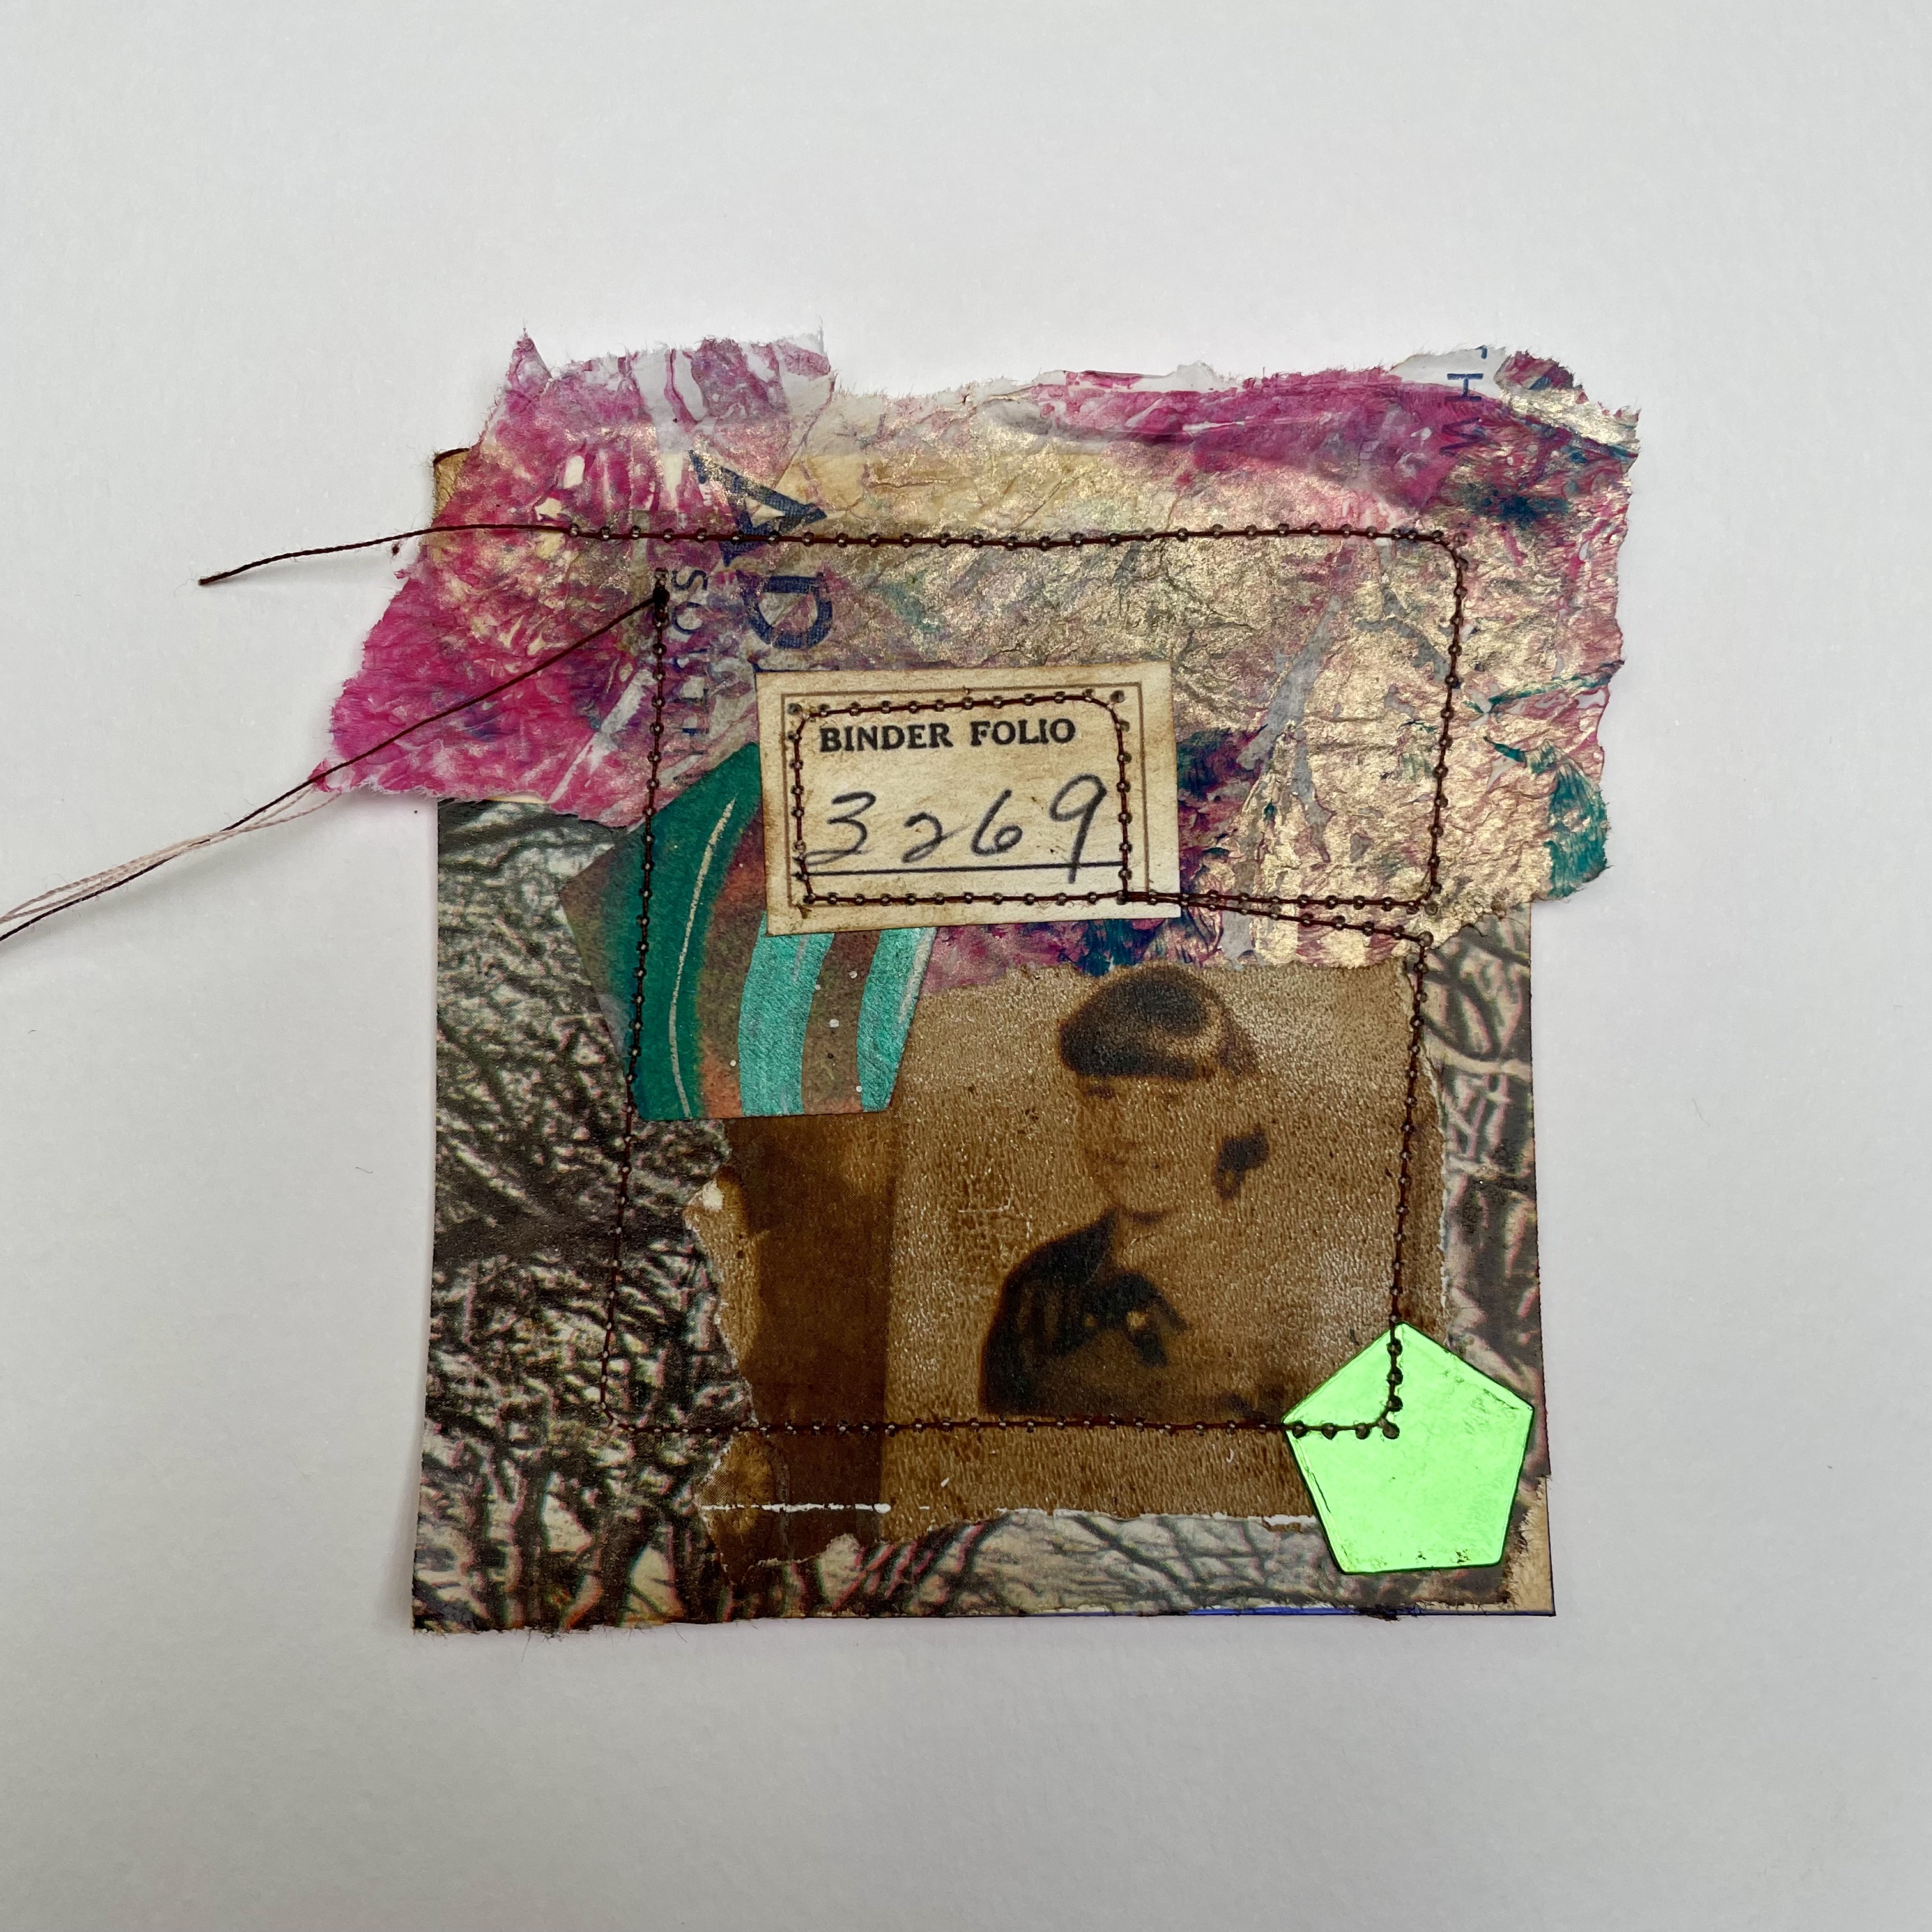

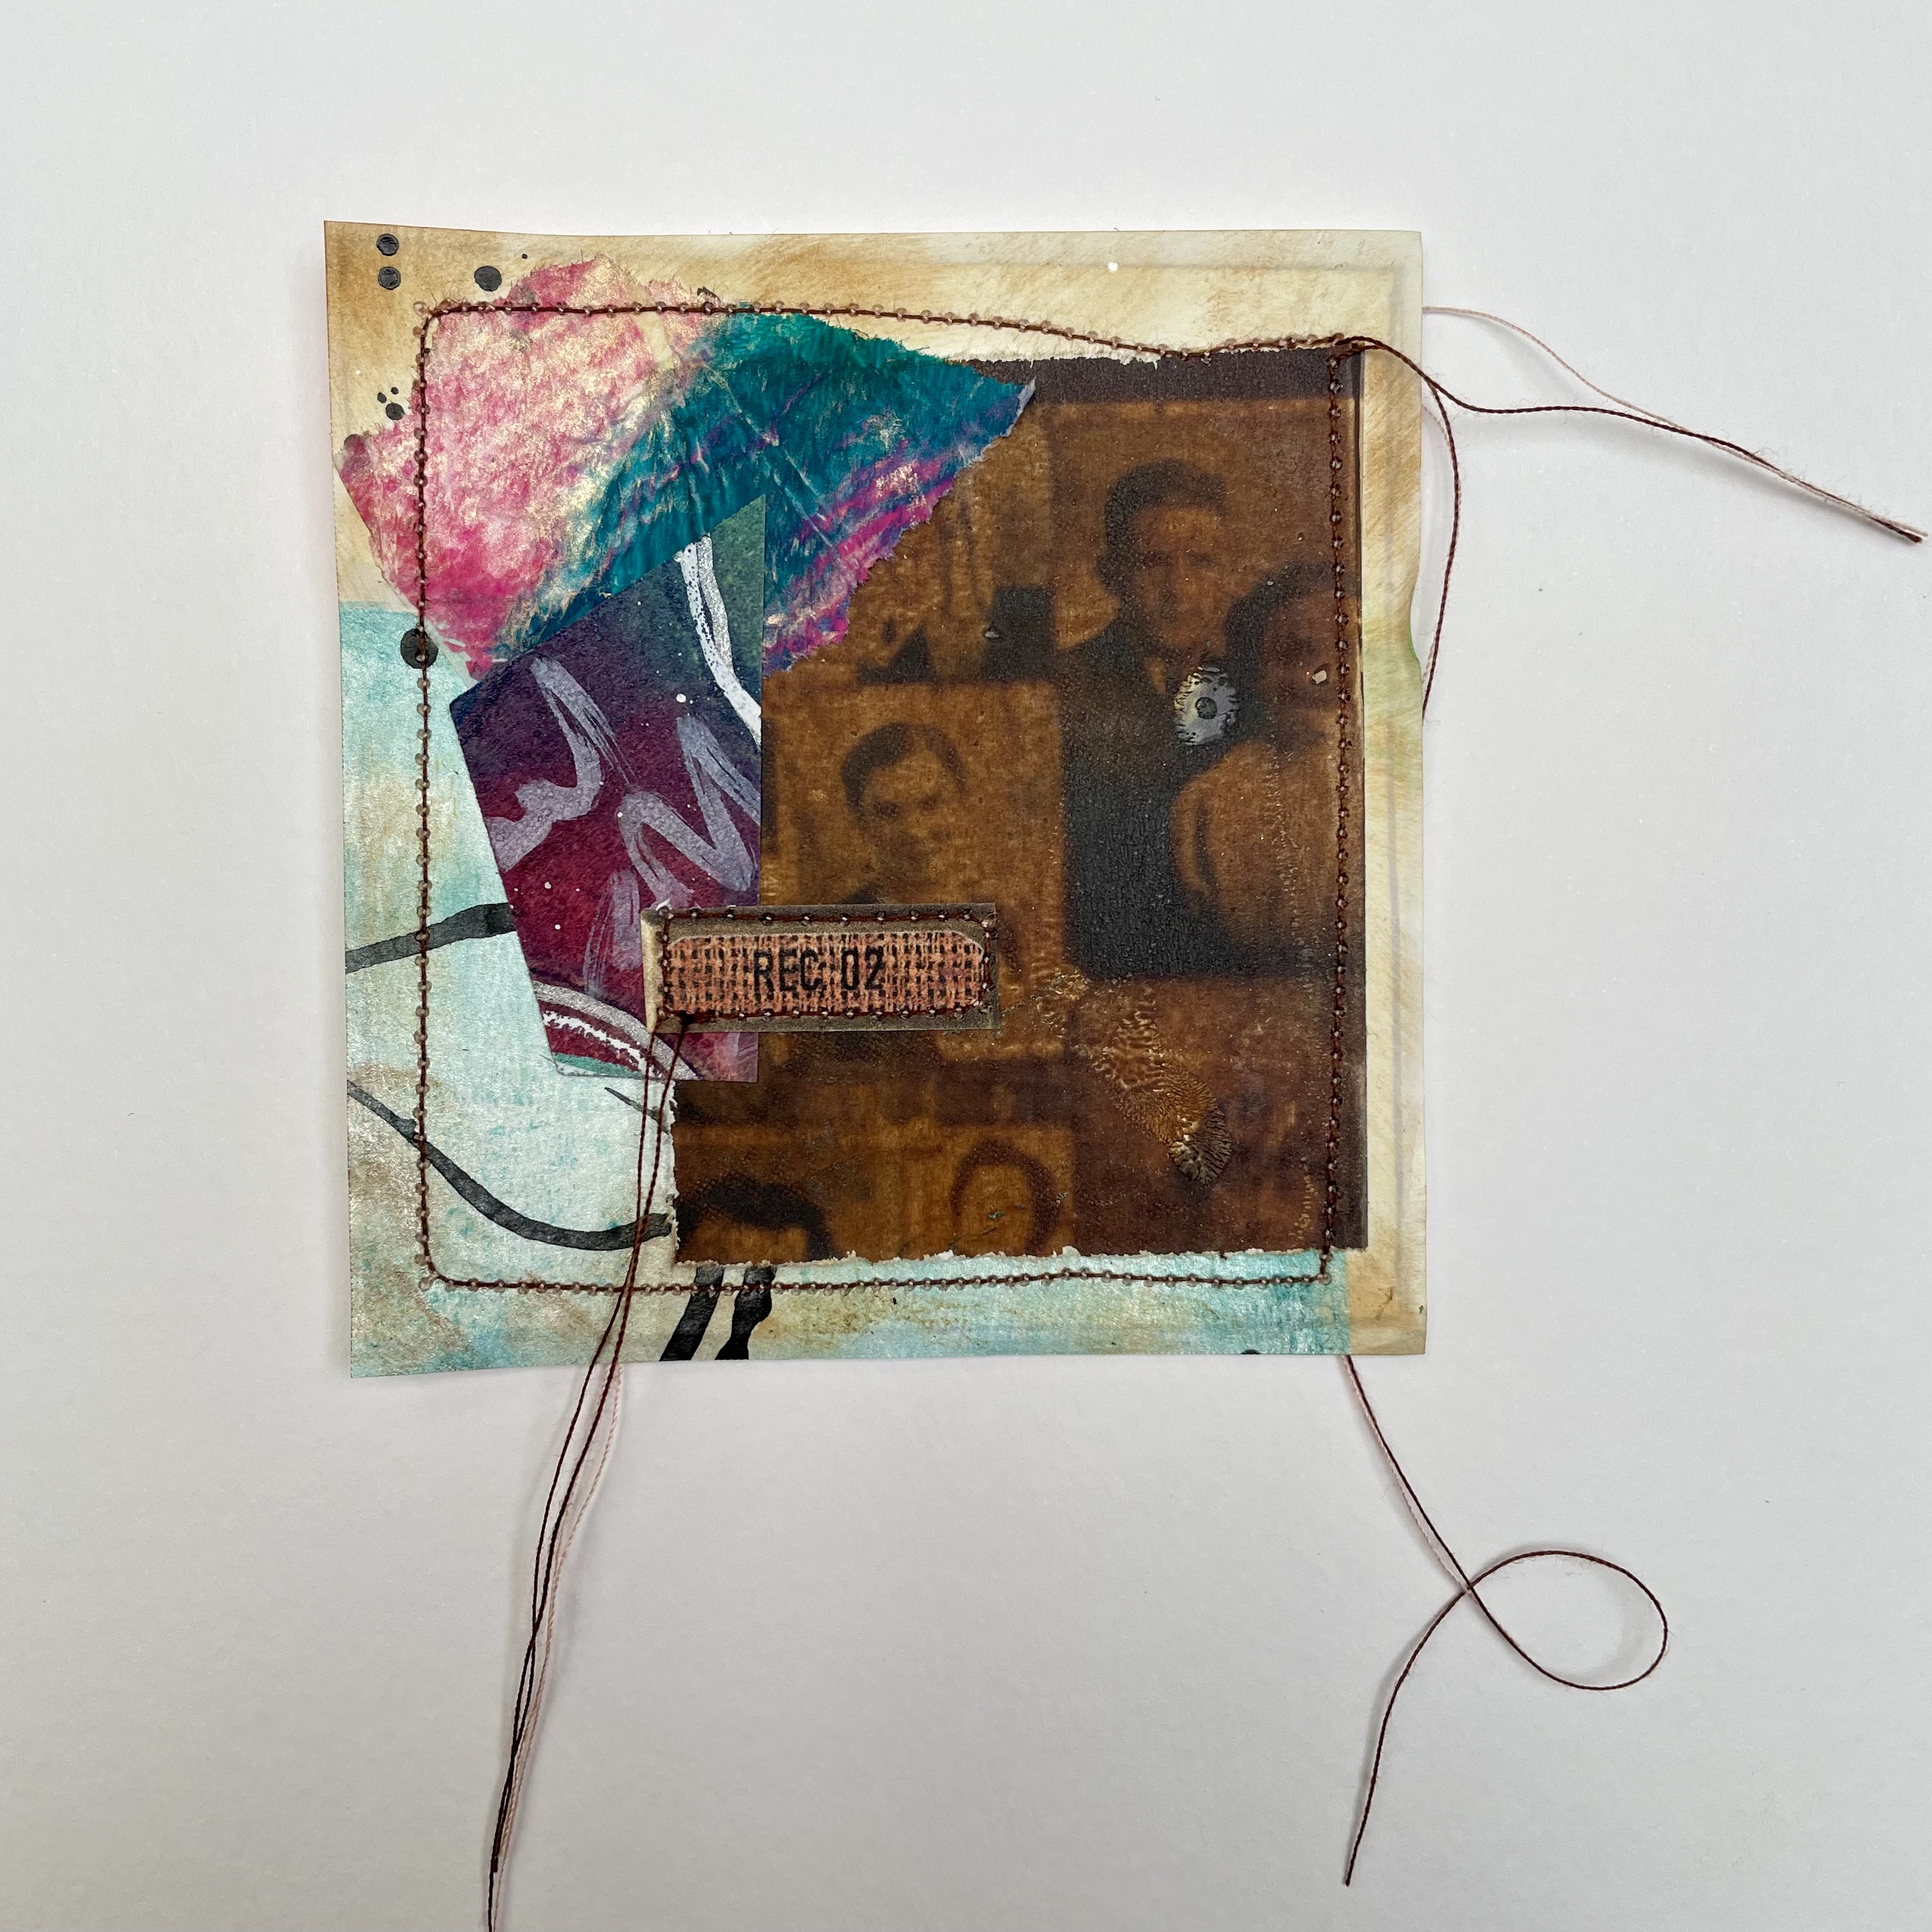
To make my miniature collages I used several items from the past week’s sessions. I used gel plate prints and image transfers. I combined them with stitching and bits from my scrap box. I made several of these slightly creepy vintage-style miniature collages. I hope to use them up in future sessions.
This week I discovered that I really enjoy incorporating text and the written word in my work. I also love combining vintage images with a more modern colour palette.
I really enjoyed making my collages more personal this week. I liked how some of the collages told a story or had hidden meanings.
I also like incorporating stitching into my collage and hope to do more of this in the upcoming weeks!
Discover more from Mushroom Moon Designs
Subscribe to get the latest posts sent to your email.
